How to Build Conditional Logic in Airtable Forms


Sometimes, you want to add conditional logic to your forms. What is it for? Well, it can be useful if you want to create dynamic forms that will change based on the answers of the respondent.
We are not only talking about form trees, when basically your answer will prompt a specific question. But also the capability to display data directly in the fields of the form.
Airtable is a powerful tool for organizing data, and its forms can be used to collect data from visitors on your website. With the ability to build conditional logic into your forms, you can customize the user experience based on their response, and display only the data that is relevant to them.
What we will cover:
Let’s take one use case example: you have a music school, and you want students to quickly onboard online.
You offer different types of classes based on 3 settings:
Based on your selection as a respondent, you should be able to see the classes available and directly book one from the form that will bring you to the payment page.
Seems easy on the paper? Well, reality is always a bit more different.
In order to store the data that will be collected via a form, you first need to create a table.
This 'Classes' table is where you are going to create the different instances of your classes. They are defined here by time slots, and have specific fields such as 'Class duration' or 'Class Teachers'.
Also, you will need to create a roll-up field that will count the total number of enrolled students. This field will be used in the next step.
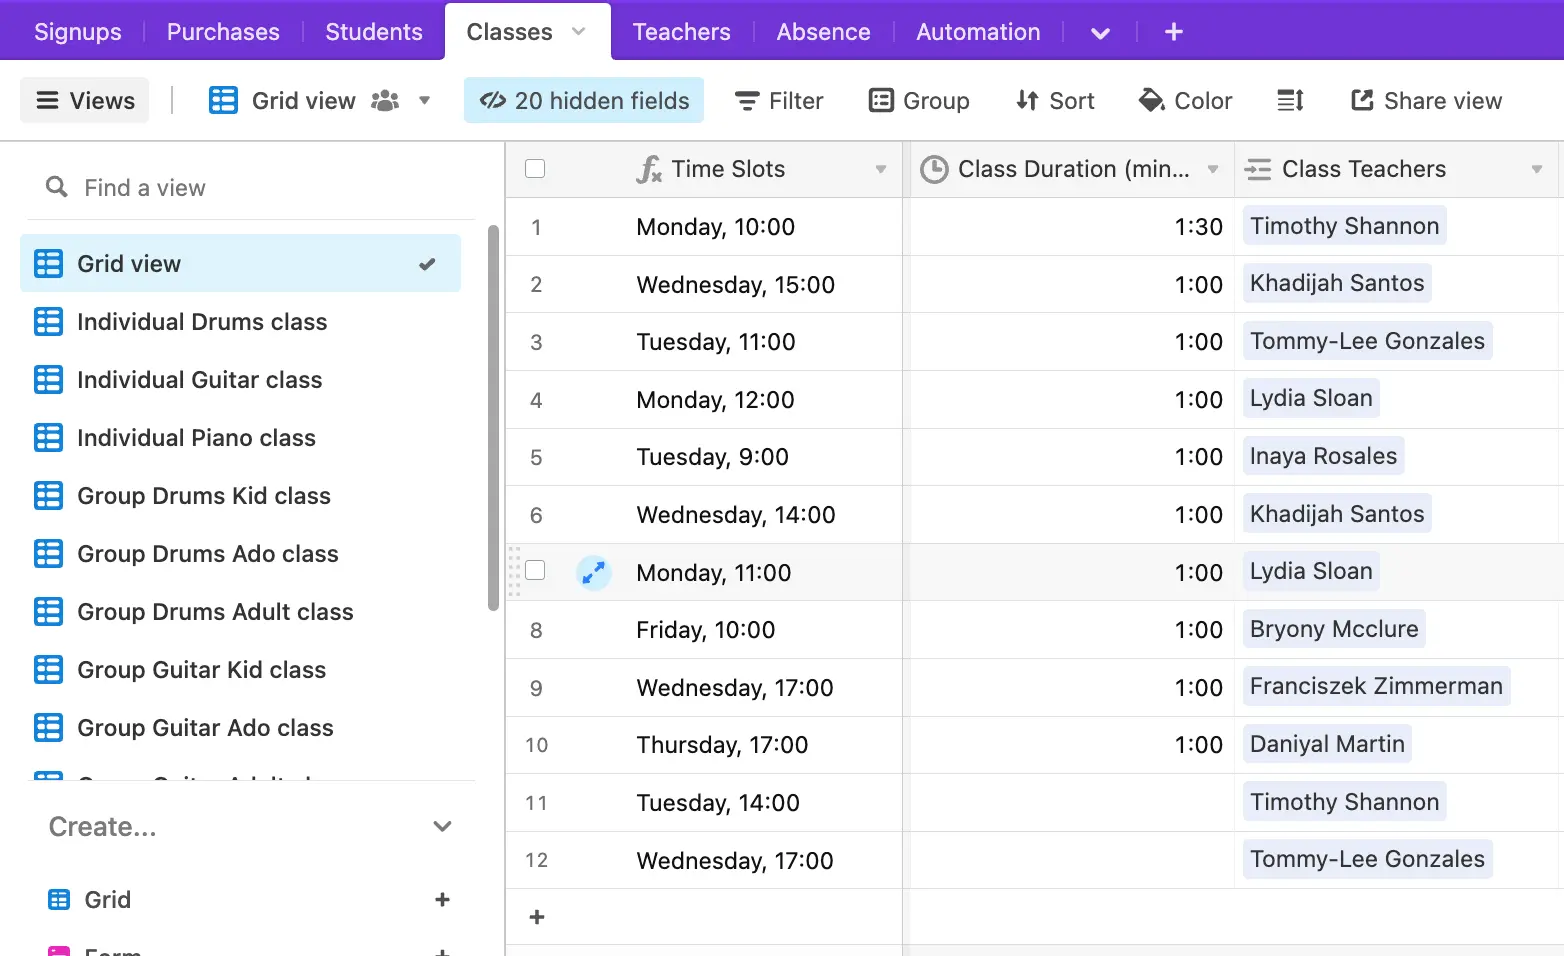
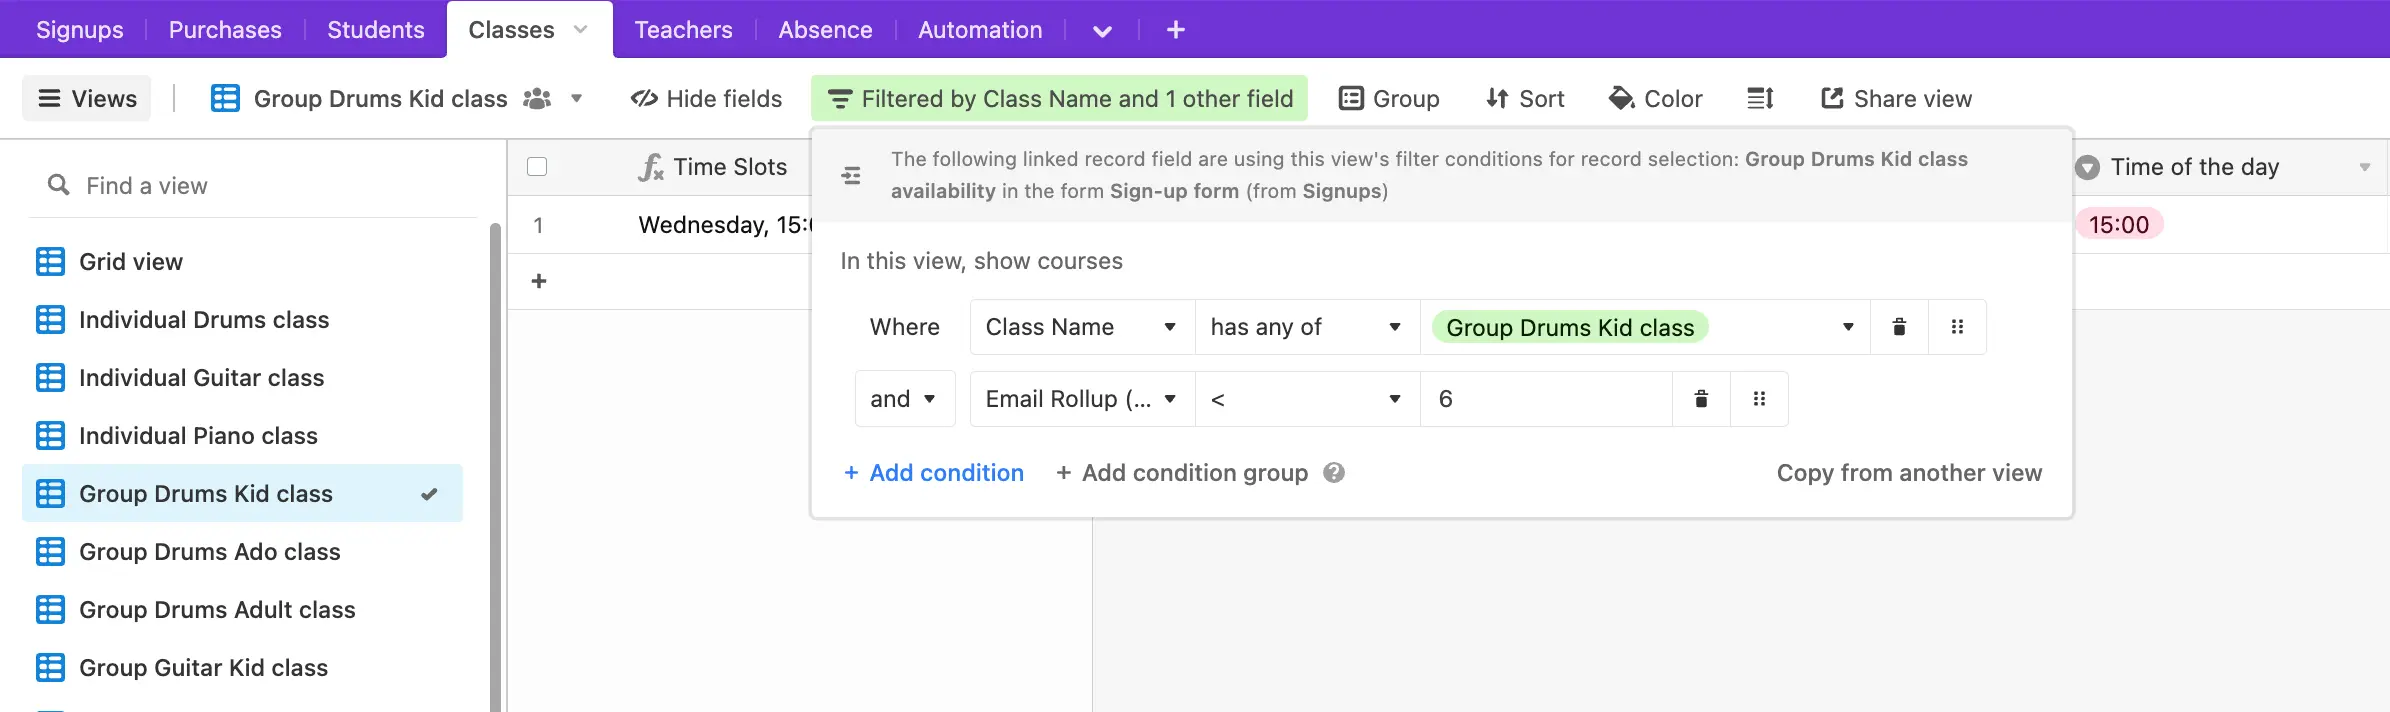
Then, you need to create as many views as the number of conditions. Here, we are talking about the 'Class Name' and the number of students enrolled. Classes can have a maximum of 6 people.
They are age and instrument-specific, and are either individual or in group.
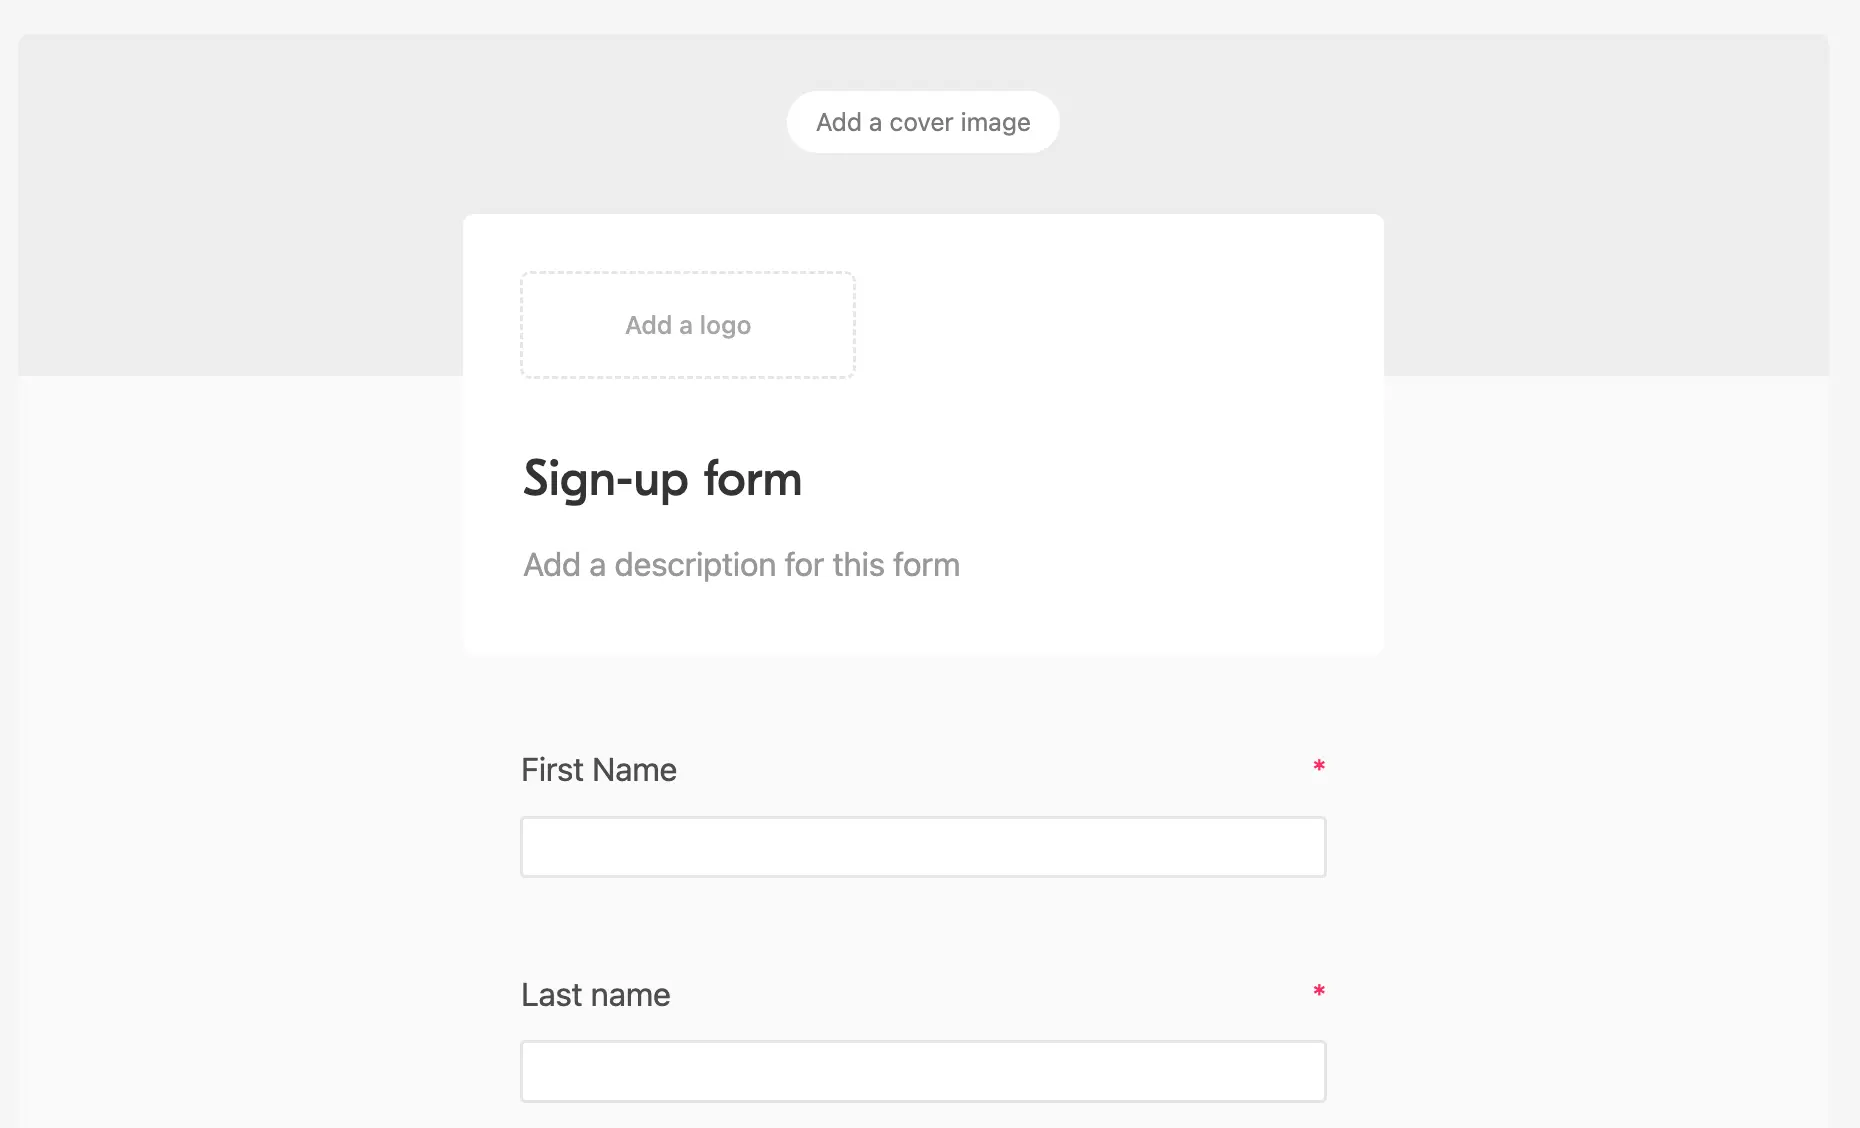
Then, you want to create a ‘signups’ table where the student data will be collected. Students are defined by a number of fields, including:
Once done, you can create a form view and select the fields you want to show in your form.
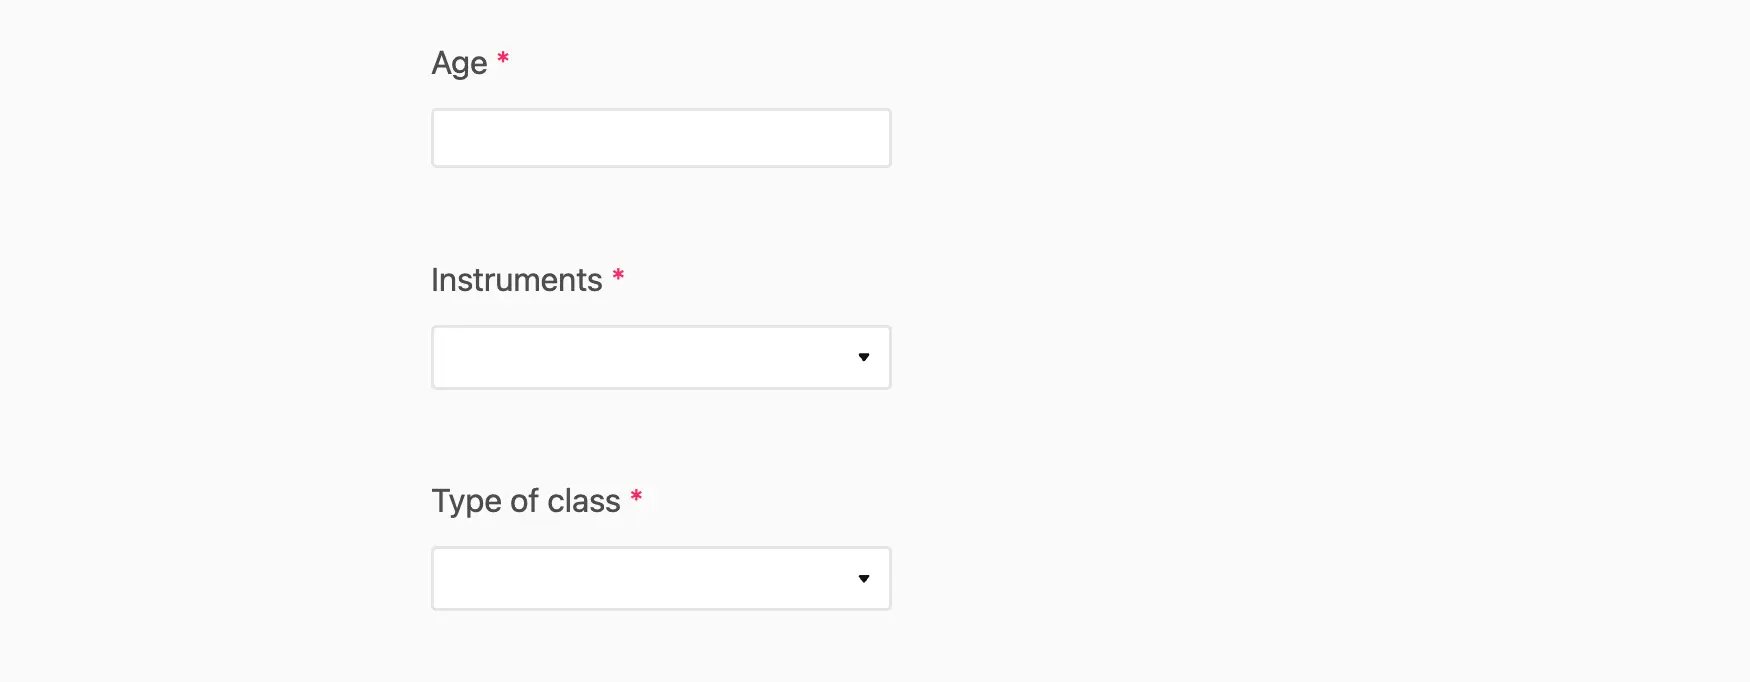
Now, you will add the variables that will be used to showcase the class availability.
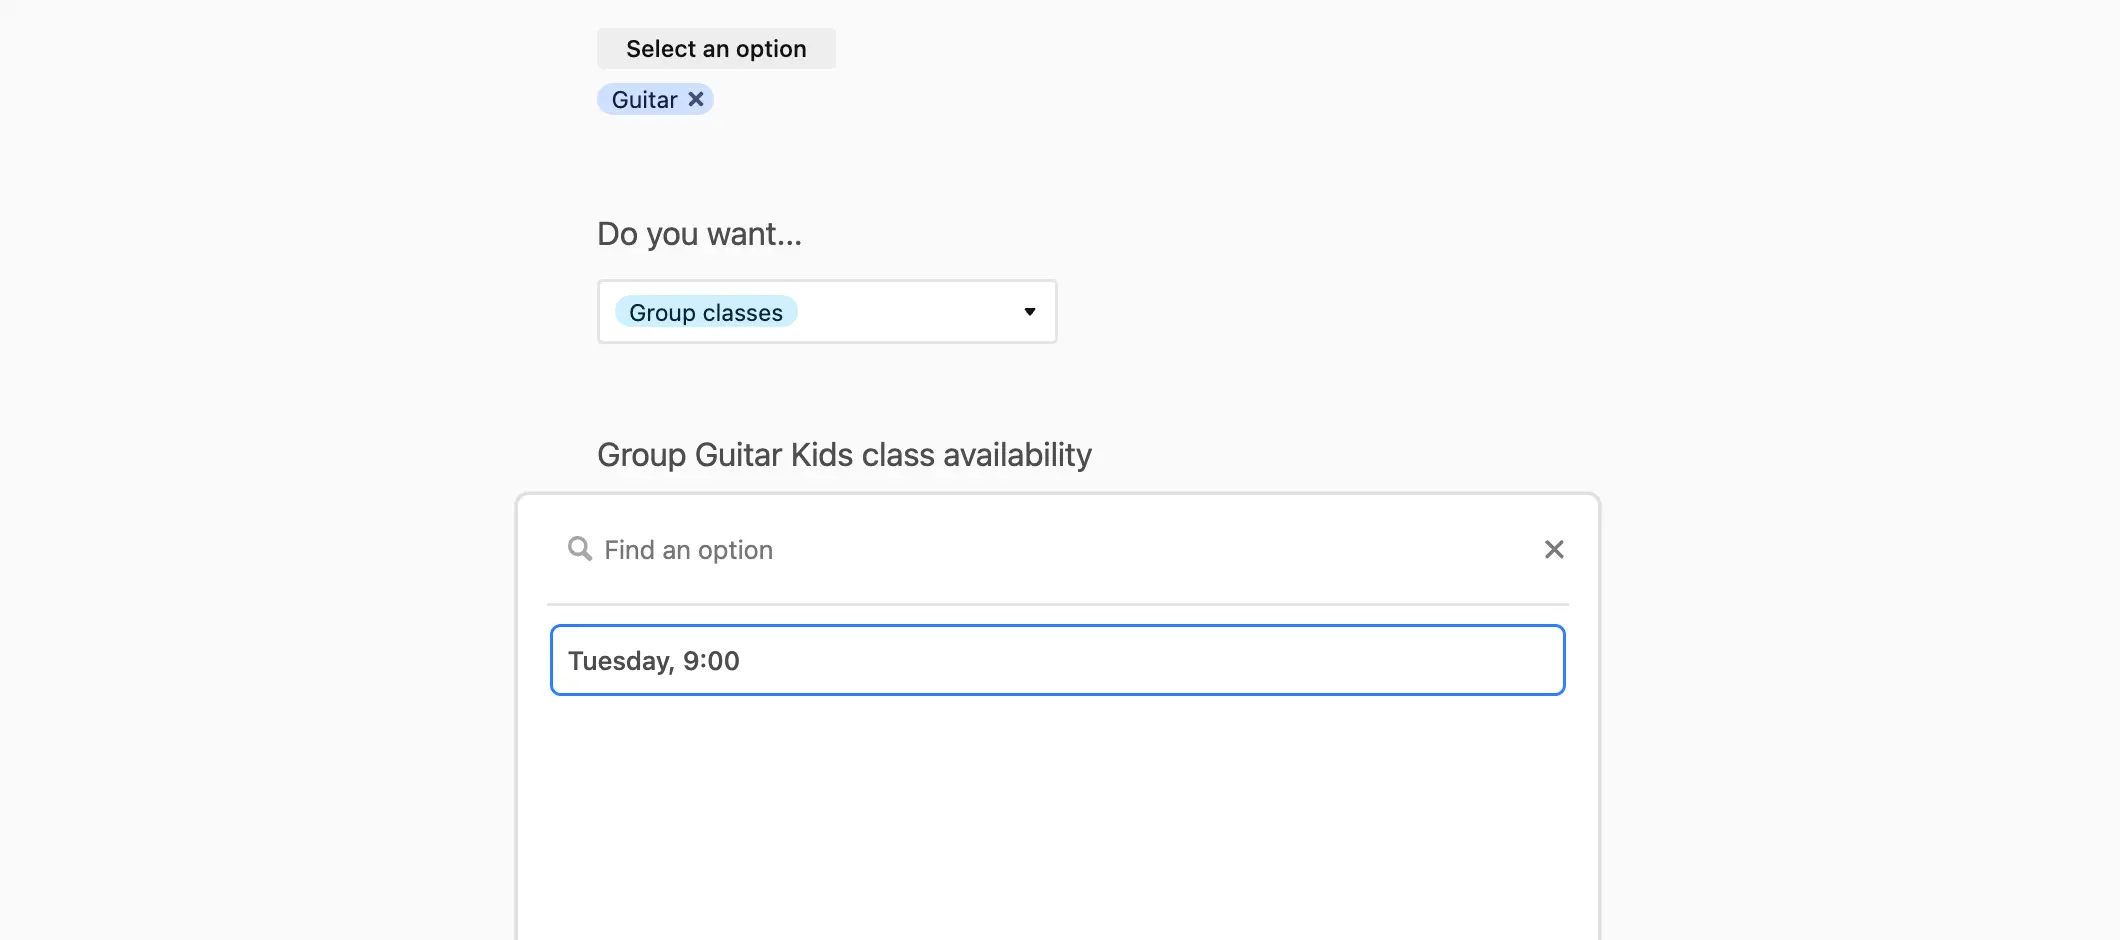
3 settings will be used to determine the class: age, instrument and the type of class (individual or group). Age is a text field, instruments, and type of class are single select.
Remember, we want to showcase the available classes based on the information collected.
Then, you will create conditional logic inside the form: based on the information entered, you are going to display one of the views you created in the ‘Classes’ table.
For each and every condition, you will have to limit the record section to the view that you have previously created.
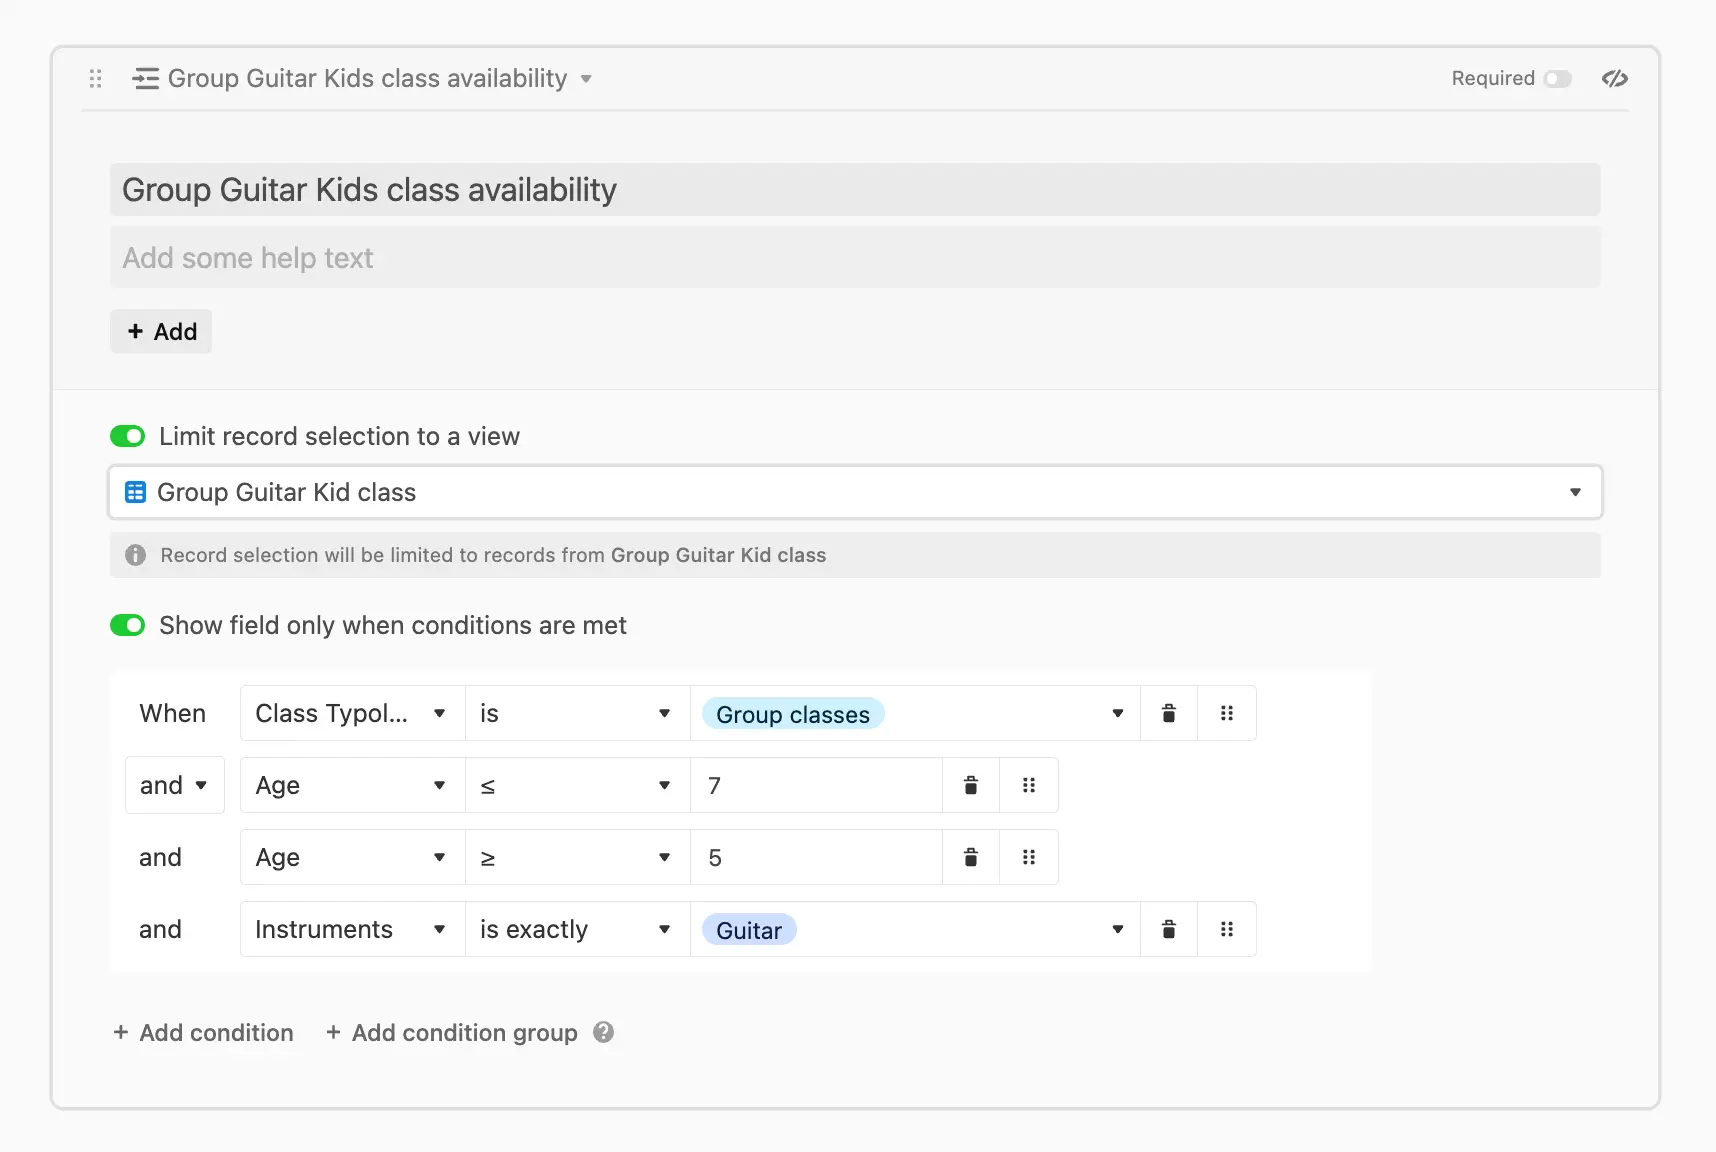
When students (or their parents) enter their information on the form, they will only have the remaining slots available for the class they want to attend (here a guitar group class for kids).
The process of building this logic is fairly simple when you have only a few conditions to meet (let’s say 5 classes), but as soon as you have more variables, it becomes very complex to set up and manage, and you may need to work in an advanced form.
Imagine that you want to change the age range of a class, or you want to make it possible for students to select multiple instruments. You will have to change conditions for each field in the form, as well as adding new views for each and every condition… It can become very tedious pretty quickly!
Now let’s see how you could do that with Blitz.
Let’s go back to the example we previously discussed. As you understood, you will need to create in Airtable as many views on your existing dataset as there are conditions. Then, you will have to build conditions to show each view.
With Blitz, you will first create two objects ‘Student’ and ‘Class’, and the relations between them. Once done, you will use a computed field that will link students with the available class based on the student age, instrument, and class type variables. No need to create views or filter on top of your different tables. You can simply get the data you want with a simple formula.
Also, Blitz is a production-ready database. As such, you won’t have the limitations that you might encounter when you use Airtable as a database. Here is more information on the main differences between Blitz and Airtable.
Interested in Blitz? Request access to our beta to see a live demo.

